
Get started
This page takes you from nothing installed to a public URL for a local MCP server, in about five minutes.
Sign in at https://web.mcpwarp.io to create your account and choose a username; the CLI login uses the same account.
Install
Section titled “Install”MCP Warp is a single static binary, mcpwarp. No Node, no npm.
Homebrew (macOS/Linux)
Section titled “Homebrew (macOS/Linux)”brew tap mcpwarp/tapbrew trust --tap mcpwarp/tap # required once, on Homebrew 6+brew install --cask mcpwarpUpgrade with brew upgrade --cask mcpwarp.
Scoop (Windows)
Section titled “Scoop (Windows)”scoop bucket add mcpwarp https://github.com/mcpwarp/scoop-bucketscoop install mcpwarpUpgrade with scoop update mcpwarp.
Linux packages
Section titled “Linux packages”Download the .deb, .rpm, or .apk from the latest release:
Debian/Ubuntu
sudo apt install ./mcpwarp_*.debFedora/RHEL
sudo dnf install ./mcpwarp_*.rpmAlpine
sudo apk add --allow-untrusted mcpwarp_*.apkManual install
Section titled “Manual install”Download the tar.gz (macOS/Linux) or zip (Windows) for your platform from the latest release, and verify against checksums.txt (sha256).
macOS binaries are unsigned outside the cask, so remove the quarantine flag once after extracting:
xattr -d com.apple.quarantine ./mcpwarpLog in
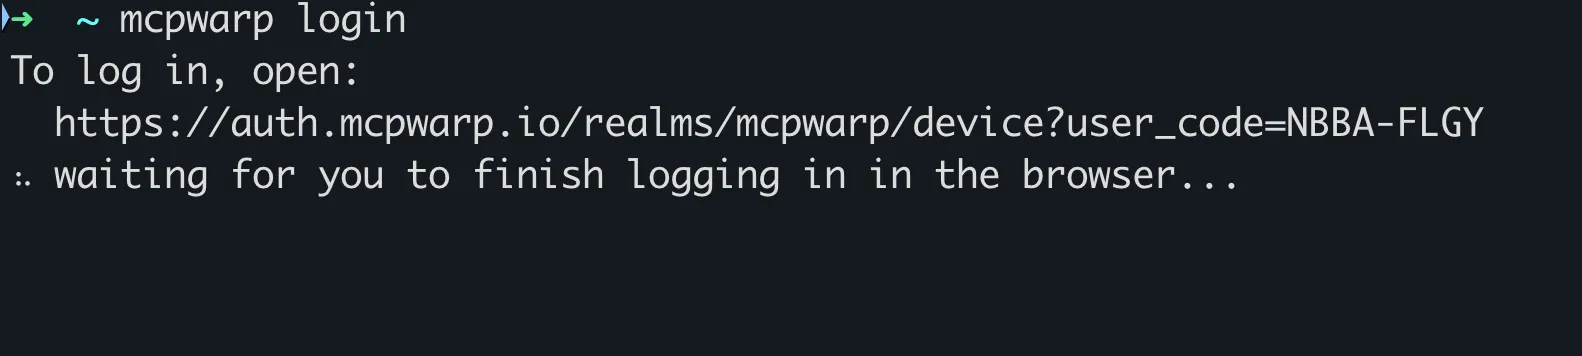
Section titled “Log in”mcpwarp loginThis opens your browser for a device-flow login. If a browser can’t be opened (for example, over SSH), pass --no-browser and it prints a URL and a code to enter manually:
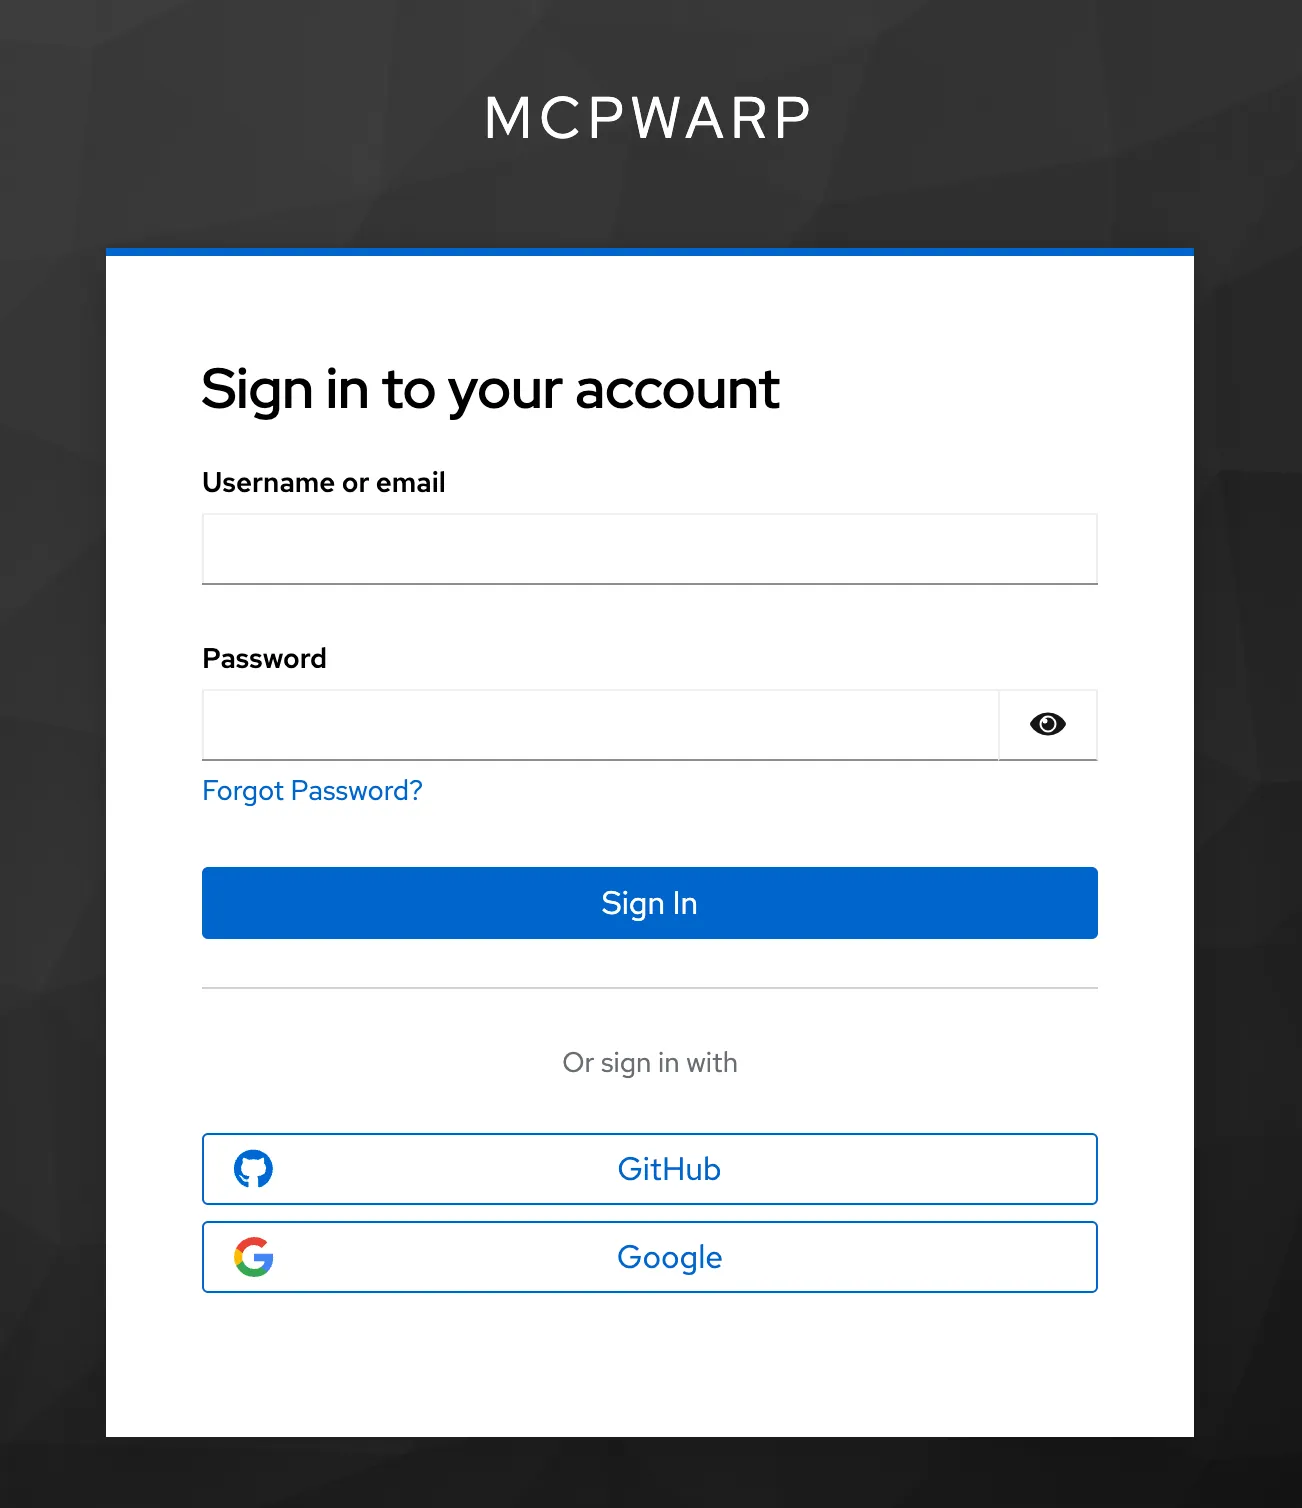
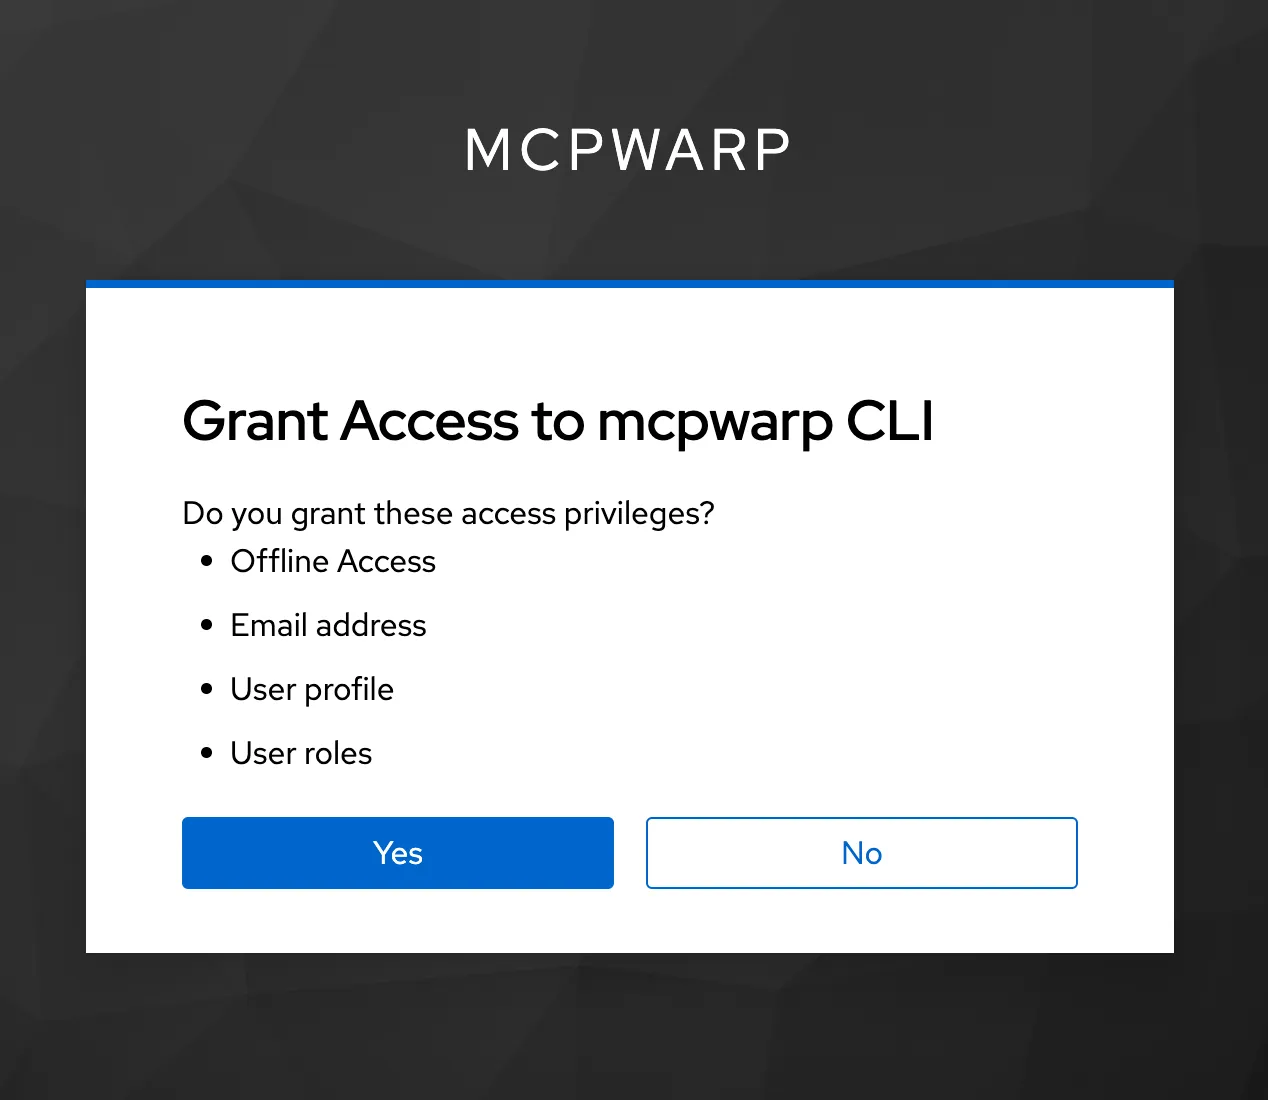
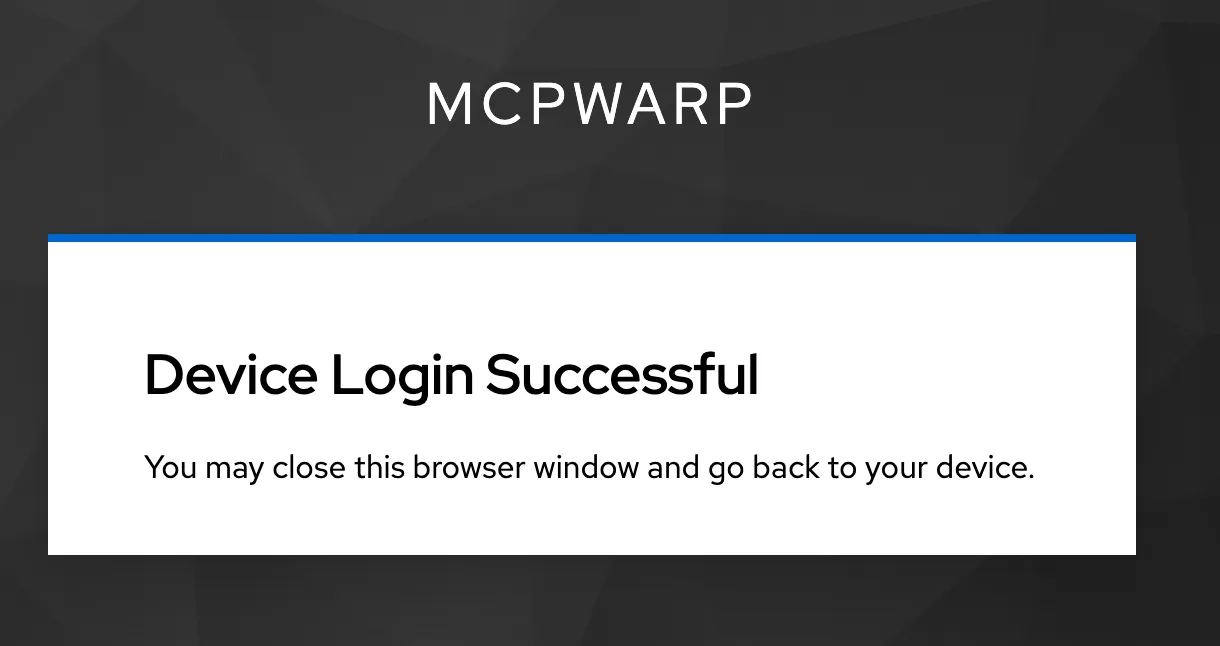
mcpwarp login --no-browserThe terminal prints the login URL with your code, then the browser walks you through sign-in, granting the CLI access, and a confirmation page:
Credentials are stored per-issuer under ~/.mcpwarp/credentials/, mode 0600.
Configure a server
Section titled “Configure a server”MCP Warp reads ~/.mcpwarp/config.json (override with --config <path>). Add the server you want to expose:
{ "servers": [ { "name": "notes", "kind": "http", "url": "http://127.0.0.1:8765/mcp" } ]}Use "kind": "stdio" instead if you want mcpwarp to spawn the server itself — see Expose a stdio server and Expose an HTTP server for both shapes in full.
Check your config is valid before starting anything:
mcpwarp statusStart the tunnel
Section titled “Start the tunnel”mcpwarp upmcpwarp up connects, registers every configured server, and prints a table of public URLs. It stays in the foreground until you press Ctrl+C. On a terminal (stdin and stdout both a TTY) it runs a full-screen TUI; otherwise, or with --no-tui, it prints plain lines instead.
NAME KIND URLnotes http https://notes-anatoly.tunnel.mcpwarp.io/mcpOn a TTY it looks like this:
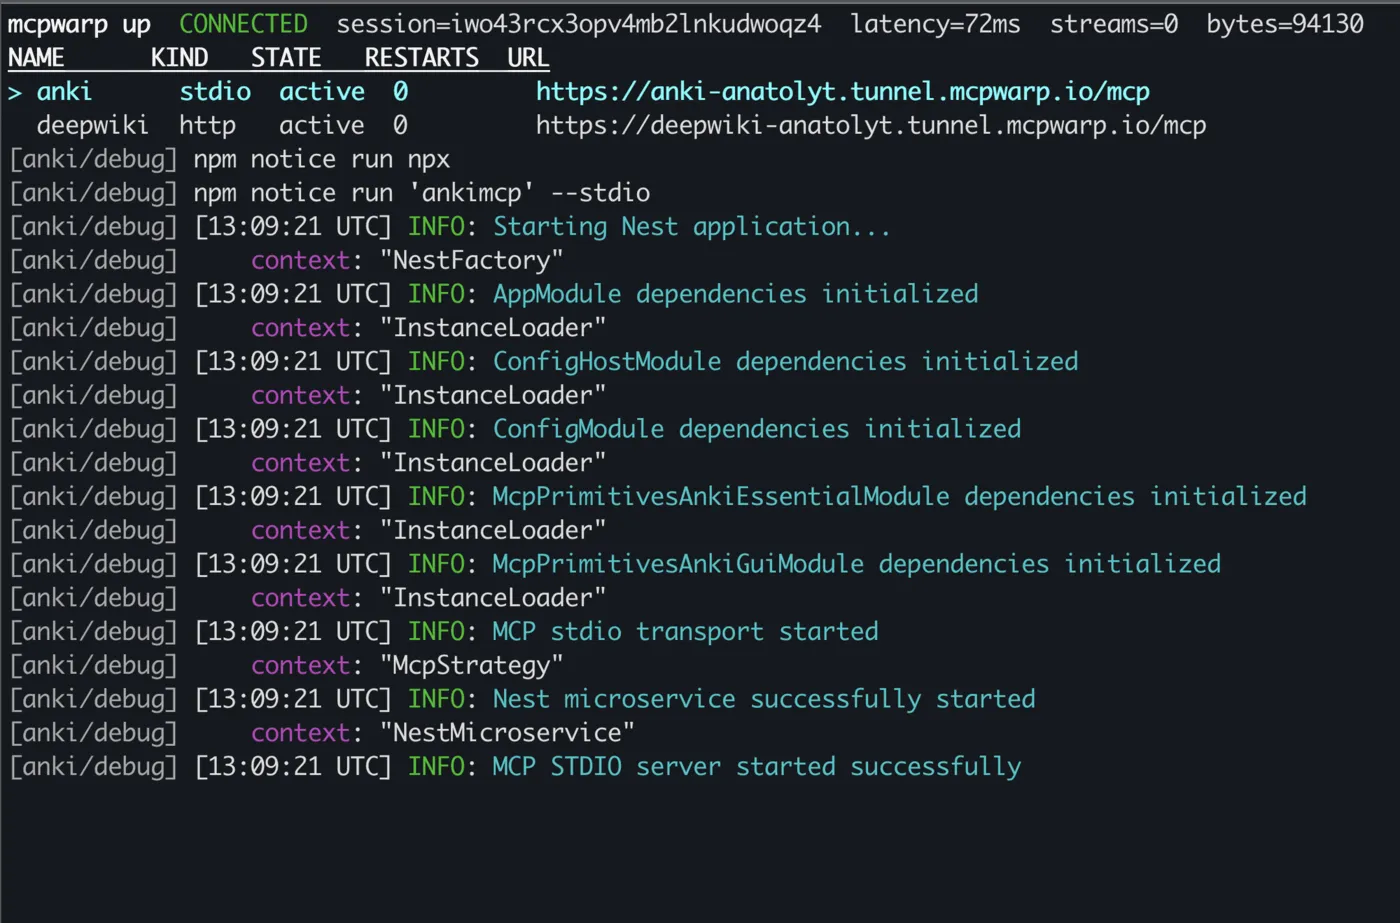
On first up, you may see a USERNAME_REQUIRED error — sign in once at web.mcpwarp.io to pick a username, then rerun mcpwarp up.
Headless and CI
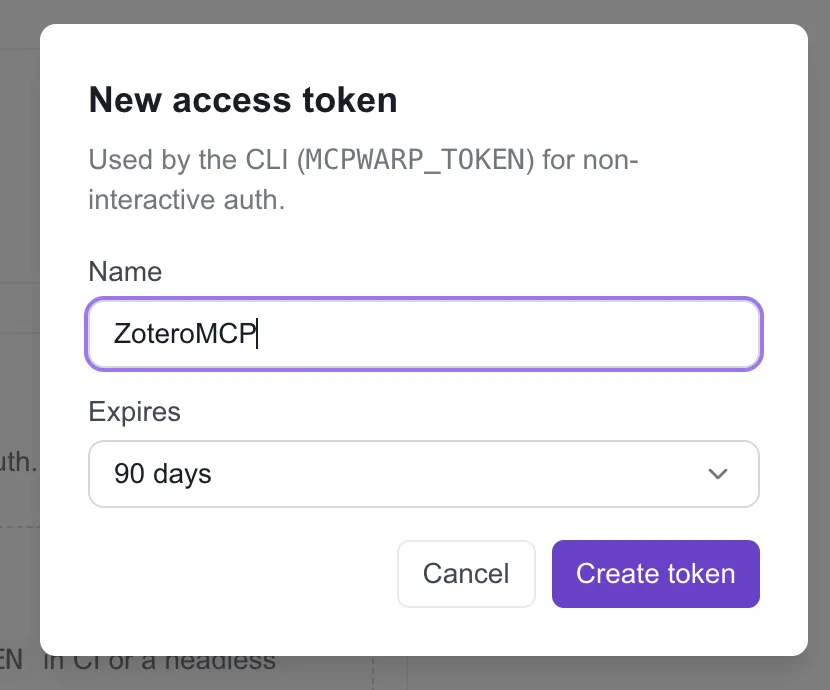
Section titled “Headless and CI”For scripts, services, or CI, skip the TUI and use a personal access token instead of an interactive login:
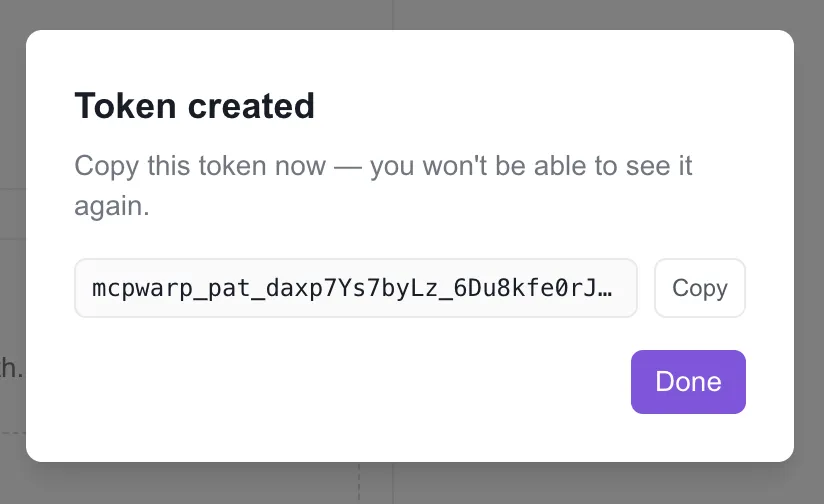
export MCPWARP_TOKEN=mcpwarp_pat_...mcpwarp up --no-tuiMint a token from the dashboard at web.mcpwarp.io — it’s shown once.
Give the token a name and an expiry:
Paste the URL into a client
Section titled “Paste the URL into a client”Copy the URL from the table (in the TUI, c copies the selected row’s URL) and add it to your MCP client as a remote MCP server (custom connector / remote server / mcp.json, depending on the client). The client will run through an OAuth sign-in the first time it connects.
See Connect Claude, Connect ChatGPT, or Connect other clients for client-specific steps.